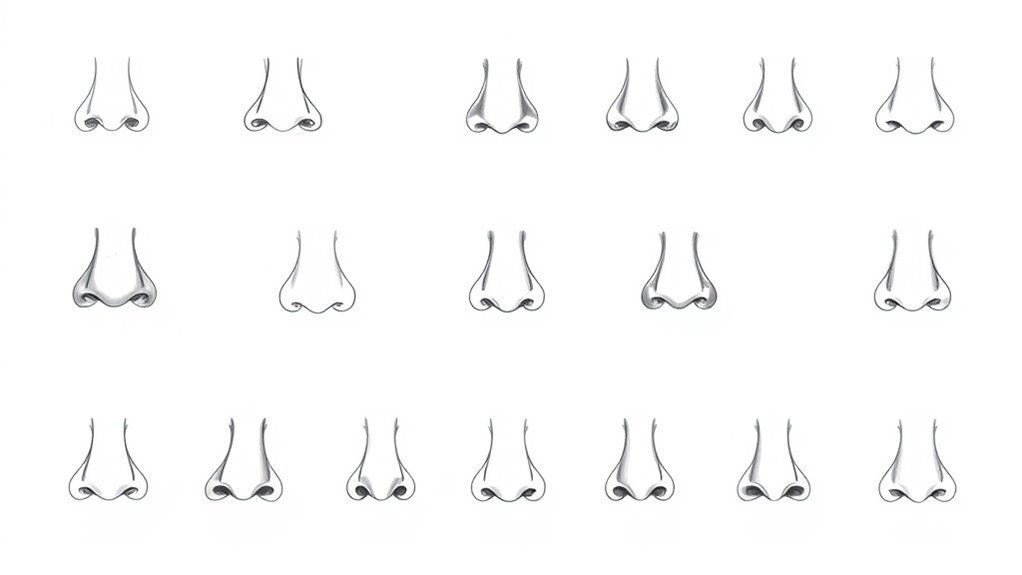
17 Nose Drawing Ideas for Realistic Facial Features
When you think about drawing realistic facial features, the nose often takes center stage. Its unique shapes and structures can add depth and character to your portraits. By exploring various styles, from classic profiles to more expressive interpretations, you can elevate your artistic skills. Each approach offers distinct challenges and rewards. So, what techniques can you use to capture the essence of a nose effectively? Let’s explore some compelling ideas.
Top Tips
- Experiment with different nose shapes, such as button, long, or upturned, to add variety and realism to your portraits.
- Use shading techniques to emphasize depth and dimension, focusing on light and shadow interaction along the bridge and nostrils.
- Incorporate unique characteristics like freckles or subtle bumps to enhance individual personality in your nose drawings.
- Combine realistic details with cartoonish elements for a creative twist, allowing for expressive and dynamic nose designs.
- Master the interplay of light and proportions, adjusting shapes to ensure harmony with overall facial features in your compositions.
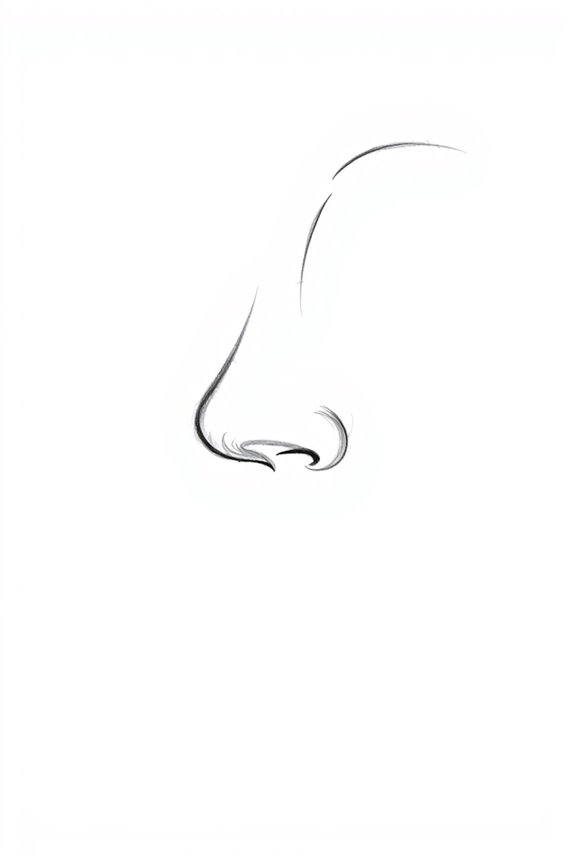
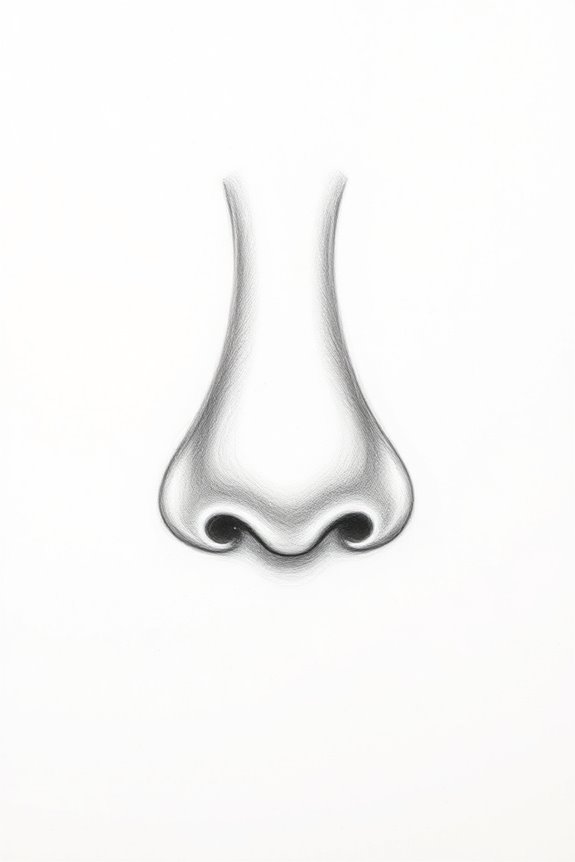
Classic Side Profile Nose

When you want to capture the essence of a nose in art, the classic side profile is an excellent choice. This perspective highlights the nose’s shape and structure while providing a clear view of its connection to the rest of the face. Focus on the bridge, tip, and nostrils to convey depth and dimension. Pay attention to the curvature and angles, as these will define the character of your subject. Use shading to emphasize the three-dimensional quality, and don’t forget the subtle details that make each nose unique. Experiment with different styles to find what resonates with your artistic vision. Additionally, using essential drawing pencils can greatly enhance the precision and quality of your work.
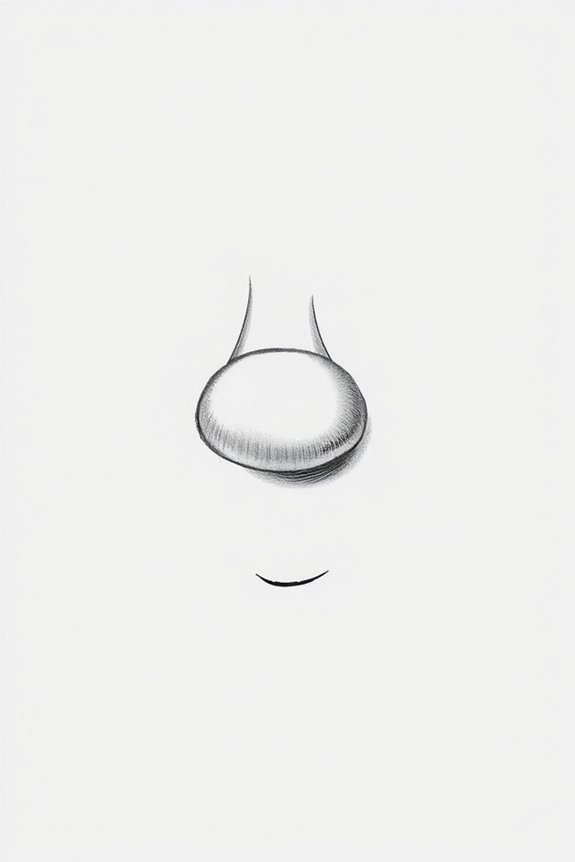
Close-Up of a Button Nose
A close-up of a button nose offers a delightful opportunity to explore its charming roundness and soft curves. You’ll want to focus on capturing the subtle highlights and shadows that define its shape. Notice how the tip is often slightly upturned, giving it a playful appearance. Pay attention to the nostrils, which should appear small and rounded, adding to the nose’s overall softness. Use gentle, smooth lines to emphasize the delicate features, and consider adding a hint of blush for realism. Remember, the key is to convey warmth and approachability through your artistic representation of this endearing feature. Additionally, using a mechanical pencil can help achieve precision in detailing the softer aspects of the nose.
Long and Elegant Nose
Capturing the essence of a long and elegant nose can elevate your portrait to new heights. Focus on its graceful lines and subtle curves. Begin by sketching a gentle slope from the bridge to the tip, ensuring it’s elongated but not exaggerated. Pay attention to the nostrils; they should complement the length without overpowering the overall shape. Use soft shading to highlight the contours, creating depth and realism. Remember to observe your reference closely, noting how light interacts with the nose. Additionally, using a quality drawing pad can significantly enhance your drawing experience. With patience and practice, you’ll bring out the beauty of this feature, adding sophistication to your artwork.
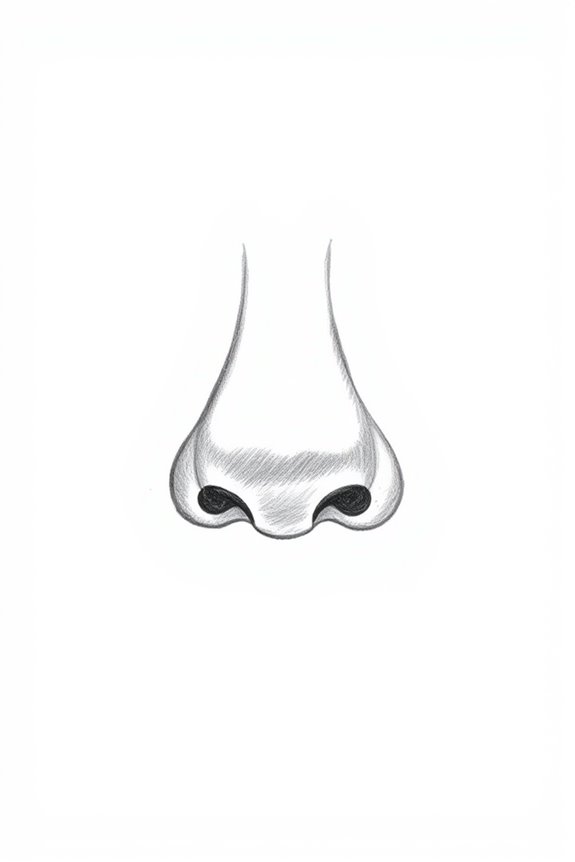
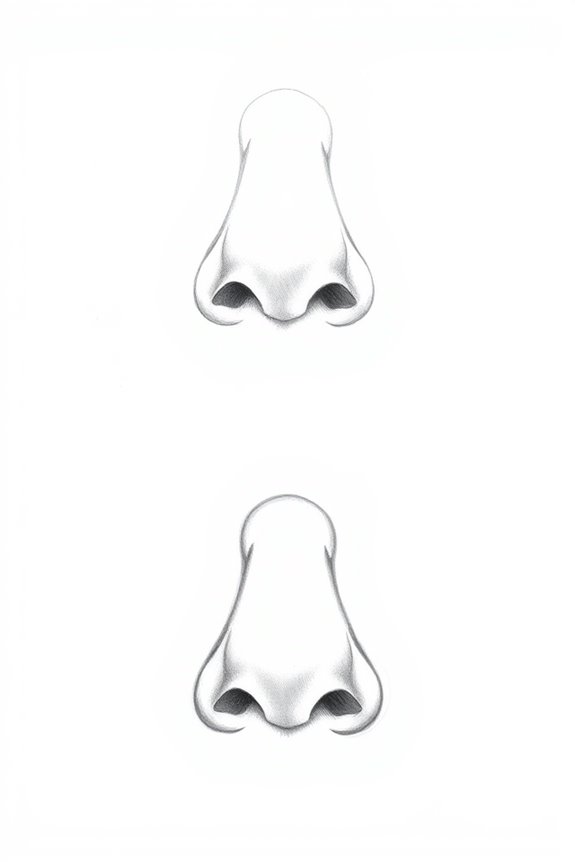
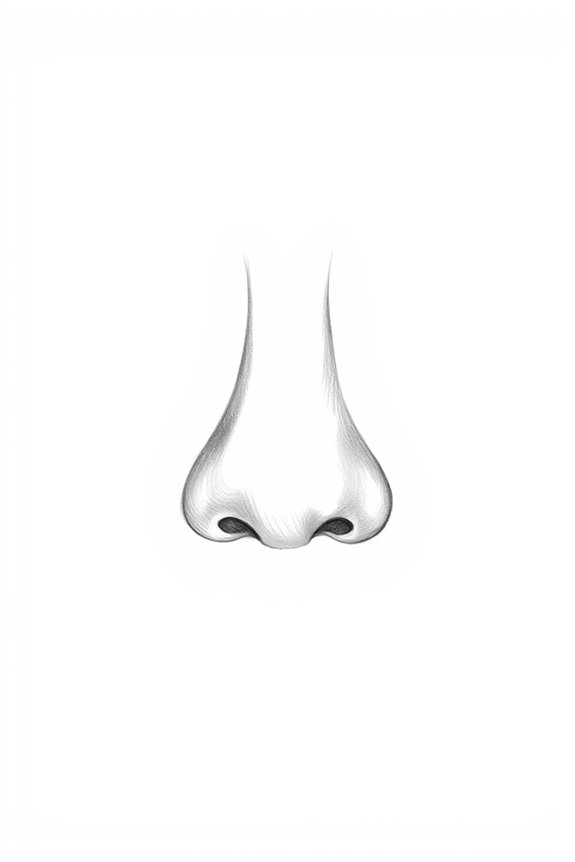
Wide Nose From a Front View
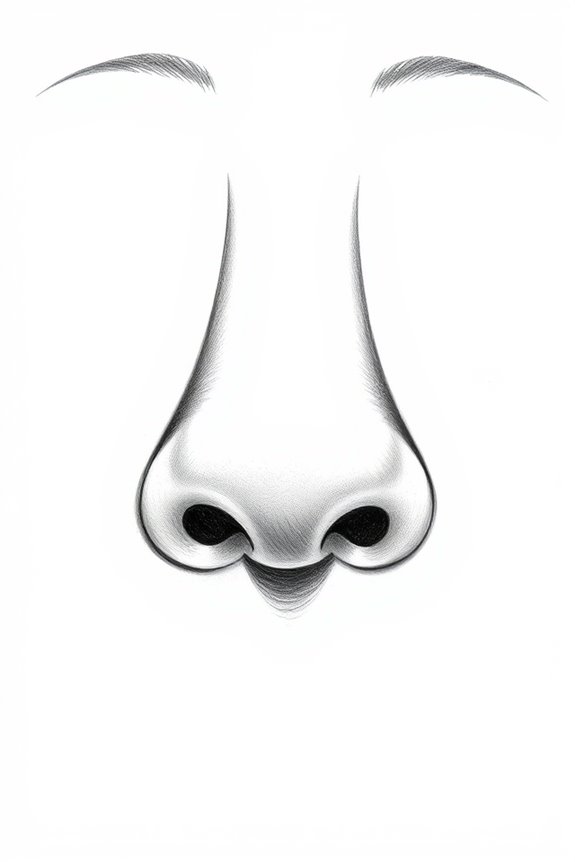
How do you effectively depict a wide nose from a front view? Start by outlining the overall shape; wide noses often have a broader bridge and flared nostrils. Focus on the nostrils’ size, ensuring they’re proportionate to the nose’s width. Use gentle curves to capture the roundness, and consider the tip’s shape—it’s usually more pronounced. Pay attention to the space between the nostrils, as it can enhance the nose’s width. Finally, emphasize the bridge’s curvature to create dimension. Practice drawing different angles to refine your technique, and remember, capturing the essence of a wide nose involves balancing proportion and shape. Using the right tools, like mechanical pencils for drawing, can significantly improve your precision and detail in these sketches.
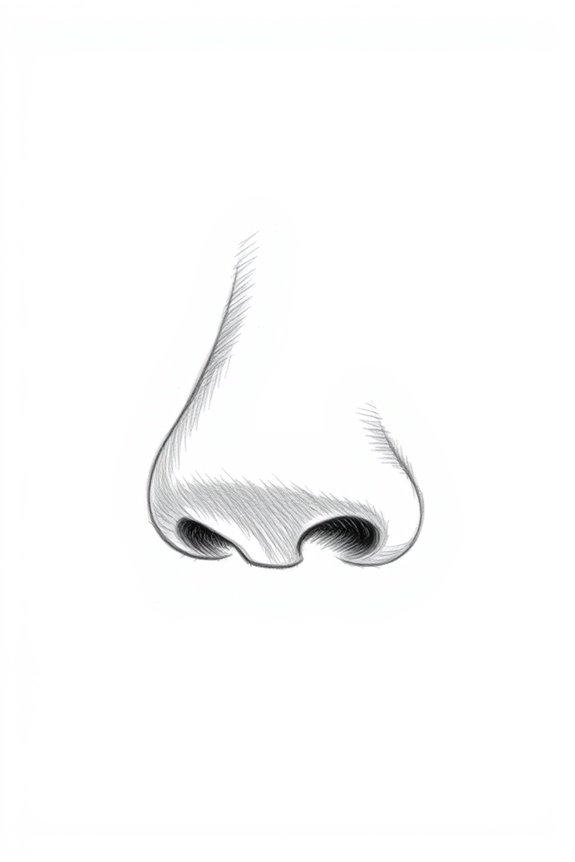
Realistic Nose With Shadows
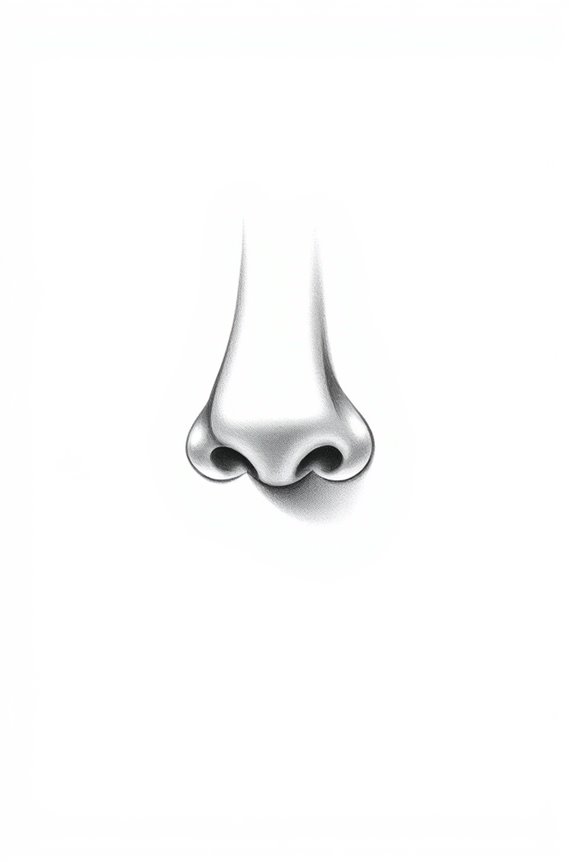
While creating a realistic nose with shadows, it’s essential to understand how light interacts with its contours. Start by identifying the light source; this will guide where you place highlights and shadows. The bridge of the nose typically catches light, so keep that area lighter. Shadows will fall along the sides and under the tip, creating depth. Use soft strokes for gradual changes, ensuring the shadows aren’t too harsh. Experiment with different pencil pressures to achieve varied darkness. Remember to blend smoothly for a more lifelike appearance. With practice, you’ll master the art of shadowing, giving your nose realism. Additionally, using high-quality drawing pencil products can enhance your shading techniques and overall results.
Detailed Nose With Freckles
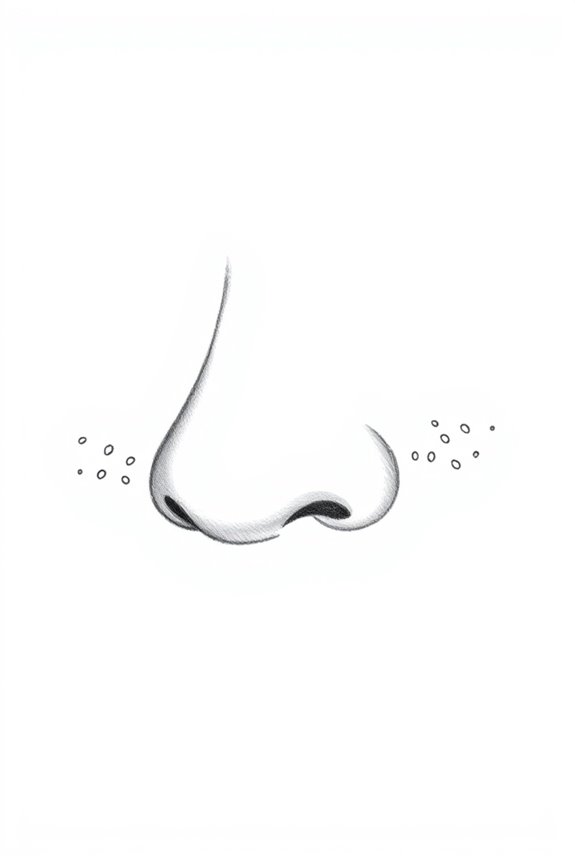
A detailed nose with freckles adds a unique character to a portrait, bringing life and personality to your drawing. When sketching, focus on the nose’s structure first—notice its shape and contours. Then, introduce freckles; they’re usually scattered unevenly, so vary their size and placement for realism. Use soft pencil strokes or light shading to create depth around the freckles, making them appear more natural. Pay attention to the skin texture, as it can contrast with the smoothness of the nose. This attention to detail will not only enhance your drawing but also give it a charming, lifelike quality.
Upturned Nose Perspective
When capturing an upturned nose perspective, you’ll notice it presents a distinct challenge compared to more traditional angles. You’ll want to emphasize the nostrils, which might appear wider from this view. Pay attention to the bridge’s curvature; it can create an illusion of height. Use softer lines to depict the tip, as it often appears rounder and more pronounced. Shadows are essential, so highlight the areas where light hits while deepening the shadows under the nose. Remember, capturing this unique angle requires balancing proportions for realism, so practice sketching from different viewpoints to refine your technique.
Nose With a Subtle Bump

Capturing a nose with a subtle bump can add character and intrigue to your drawings, as it reflects unique facial features. To depict this, start by sketching a smooth bridge leading to the bump, ensuring it flows naturally. Pay attention to light and shadow; the bump should have soft highlights and gentle shadows to create depth. Use curved lines to shape the nostrils, emphasizing their position relative to the bump. Remember, the key is to maintain realism while highlighting the distinctiveness of the bump. Practice observing different noses to understand how subtle variations can enhance your artistic portrayal.
Artistic Nose With Abstract Lines
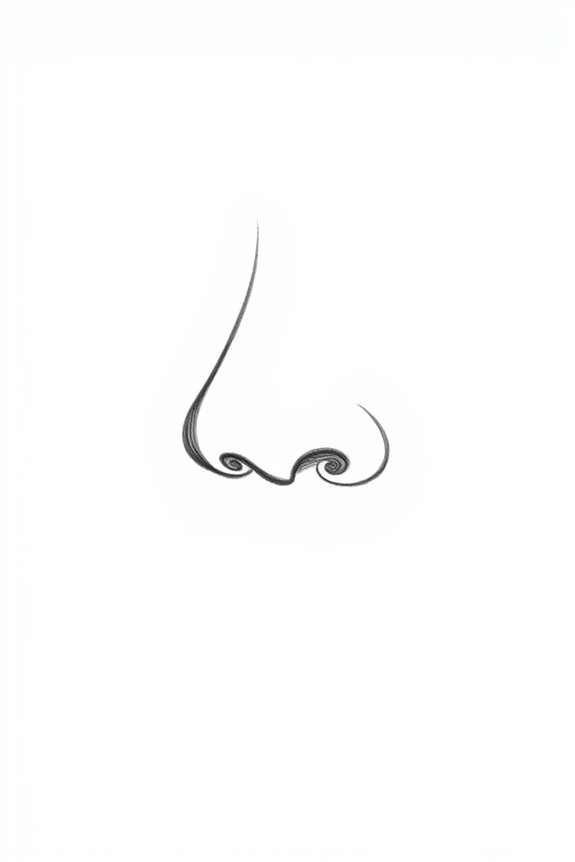
Exploring the artistic potential of a nose with abstract lines opens up a world of creative expression. You can play with curves, angles, and shapes to create a unique interpretation. Instead of focusing on realistic details, embrace the freedom of abstraction. Use flowing lines to suggest movement or geometric patterns for a modern twist. Experiment with colors and textures, blending them to evoke emotions. Each stroke can convey different moods, transforming the nose into an intriguing focal point. Remember, it’s not just about accuracy—it’s about capturing the essence of your vision, making it a fascinating piece of art.
Profile of a Nose in Motion

As you explore the profile of a nose in motion, you’ll discover how dynamic lines and angles can bring a sense of life to your artwork. Observe the subtle shifts in shape as the nose moves, accentuating its curves and contours. Focus on the bridge and tip, noting how they change perspective with every slight turn. Use light and shadow to emphasize these transformations, capturing the essence of motion. Experiment with different viewpoints to enhance depth, allowing your creativity to flow. Remember, it’s not just about representation; it’s about conveying the energy and movement that defines the nose’s character.
Nose With a Dramatic Expression

Movement can evoke powerful emotions, and a nose with a dramatic expression plays a key role in conveying those feelings. When drawing, consider how the nostrils flare or narrow, indicating surprise, anger, or disgust. Tilt the nose slightly to enhance intensity, making it appear more dynamic. Capturing the subtle shifts in the bridge can also amplify emotion—showing tension or relaxation. Pay attention to shadows and highlights; they can accentuate the shape and add depth. By focusing on these elements, you’ll create a nose that speaks volumes, inviting viewers to connect with the character’s emotional state.
Textured Nose With Skin Details
A nose can be a fascinating canvas for showcasing texture and skin details. To capture realism, pay attention to the subtle variations in skin tone and texture. Use a mix of pencil strokes to create the appearance of pores and fine lines. Observe how light interacts with the nose, highlighting certain areas while casting shadows in others. Incorporate tiny imperfections, as they add character and authenticity. Blend your shading techniques for a smooth shift between highlights and shadows. Remember, each nose is unique, so don’t shy away from emphasizing its individual features to bring your drawing to life.
Nose in a Portrait With Glasses
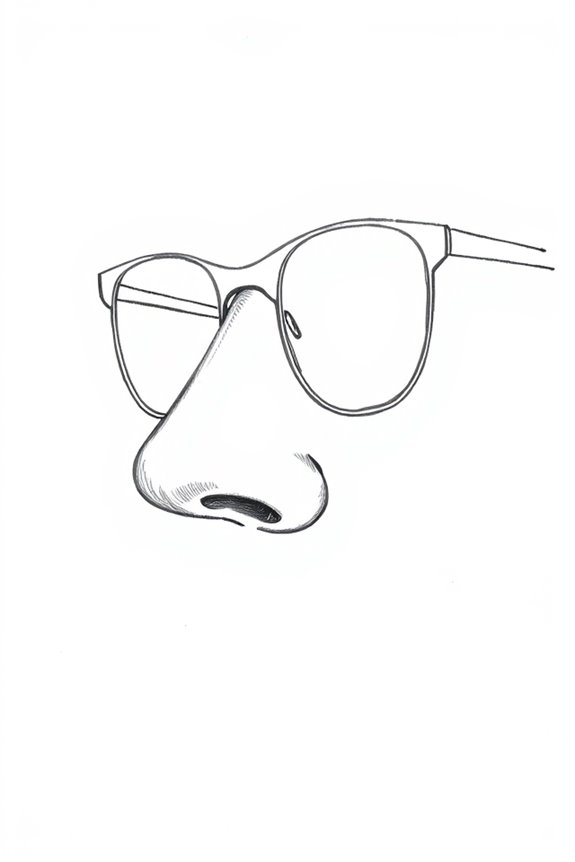
Capturing a nose in a portrait with glasses adds an extra layer of complexity to your drawing. You’ll need to pay attention to how the glasses interact with the facial features. The frames can distort the shape of the nose slightly, so be mindful of those adjustments. Focus on the bridge of the nose, ensuring it aligns with the glasses. Observe how reflections on the lenses can affect shadows and highlights around the nose. Finally, consider the overall proportion of the face, as glasses can shift your perspective. With practice, you’ll create a harmonious and realistic composition.
Nose With Different Lighting Effects
When you’re drawing a nose under different lighting effects, understanding how light interacts with the surface can dramatically enhance your work. Observe how shadows fall along the bridge and nostrils; they create depth and dimension. A soft light source will produce gentle shadows, while a harsh light can highlight edges and create stark contrasts. Experiment with shading techniques, like hatching or blending, to mimic these effects. Remember to take into account the angle of the light—side lighting can emphasize the nose’s shape, while overhead lighting can flatten it. By mastering lighting, you’ll bring your nose drawings to life with realism.
Cartoonish Nose With Realistic Features
While blending cartoonish elements with realistic features, you’ll create a unique nose that stands out in your artwork. Start by exaggerating the shape, perhaps with a wider bridge or a rounded tip, while maintaining subtle details like nostrils and shadows. Use simple lines to define the nose’s structure, but add realistic textures to the skin. Consider incorporating slight asymmetry for character, as it can enhance the cartoonish feel while keeping it relatable. Experiment with proportions—make it slightly larger than life, but guarantee it still fits harmoniously within the face. This balance will captivate viewers and showcase your artistic style.
Nose With a Soft Gradient
Creating a nose with a soft gradient can add depth and dimension to your artwork. Start by lightly sketching the nose shape, focusing on the bridge and tip. Use a range of values, blending from light to dark, to create a smooth progression. You can achieve this with a pencil or charcoal, using a blending stump or your fingers to soften harsh lines. Pay attention to the light source, as this will guide where shadows and highlights should go. By layering these gradients, you’ll create a more lifelike appearance, giving your nose a realistic and three-dimensional quality.
Nose With Emphasis on Nostril Shape
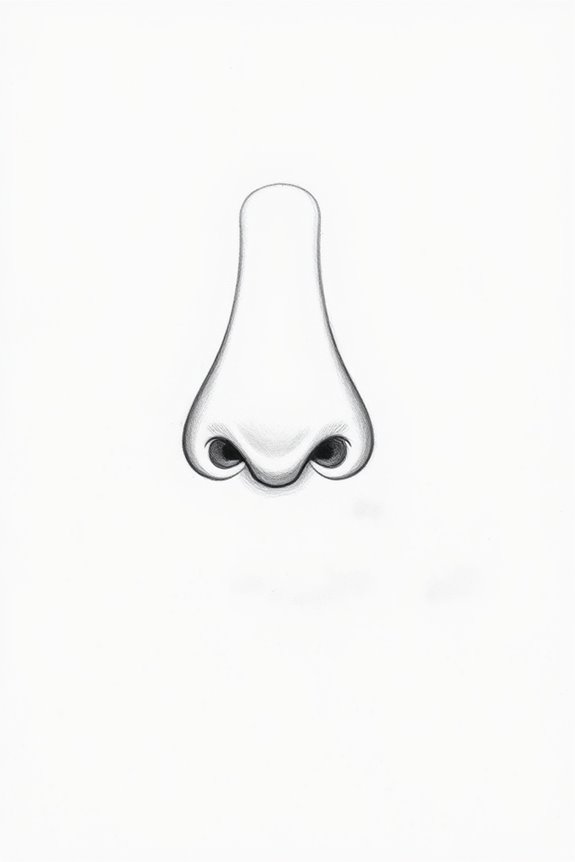
Focusing on the nostril shape can add character and realism to your nose drawings. Start by observing different nostril shapes; they can range from round to angular. Pay attention to the width and depth as well. When sketching, use light lines to outline the nostrils, then gradually add shading for dimension. Don’t forget the subtle curves that define their shape. Experiment with varying sizes and positions to see how they impact the overall nose appearance. Finally, consider the nostrils’ relationship to the rest of the face; this will help you create a balanced and lifelike representation.
Frequently Asked Questions
What Materials Are Best for Drawing Realistic Noses?
For drawing realistic noses, you’ll want to use high-quality graphite pencils for shading, smooth paper for blending, and maybe colored pencils or charcoal for added depth. Experiment with different tools to find what suits your style best!
How Can I Practice Nose Drawing More Effectively?
To practice nose drawing more effectively, study references, sketch regularly, and focus on different angles. Break down the shapes, use light and shadow, and don’t hesitate to critique your work for improvement.
What Common Mistakes Should I Avoid When Drawing Noses?
Avoid common mistakes like neglecting proportion, overemphasizing nostrils, or lacking shading. Don’t forget to observe real noses closely and practice different angles to enhance your understanding and improve your drawing skills over time.
Which References Are Recommended for Studying Nose Anatomy?
You should study anatomical diagrams, photographs of diverse noses, and 3D models. Websites like Sketchfab offer interactive references, while art books on anatomy provide in-depth insights. Observing real-life subjects can also enhance your understanding.
How Does Lighting Affect the Appearance of Noses in Drawings?
Lighting dramatically affects noses in drawings. Shadows can create depth, while highlights emphasize shape. You’ll notice how different light sources alter perception, so experiment with angles to enhance realism in your artwork.